I decided to make a more permanent RGB LED circuit for working with my Arduino. I love to control the colors using the analog pins of the Arduino. Add a diffused cover and it makes for a nice even light.
 My lamp is packaged in a simple baby food jar with the leads exposed through the cap. I sprayed the outside of baby food jar with Rust-Oleum Specialty Frosted Glass Semi-Transparent Finish. I purchased it from the local Home Depot. The vapor is harmful. Spray it outdoors and use caution. I sprayed the inside of a jar on my first attempt. Terrible results. Another jar and a few light sprays on the exterior.
 I built the light component by soldering the resistors directly to the cathodes of the RGB LED. I attached a lead to each of the resistors. Pay attention to getting your colors correct. I thought I attached the colored wired to the matching cathode’s resistor, but after assembly I found I had the leads switched. The common anode is attached directly to the wire lead. I verified my connections and threaded them through the baby jar lid. The circuit was then coated with a healthy dose of hot glue to prevent the exposed connections from shorting.

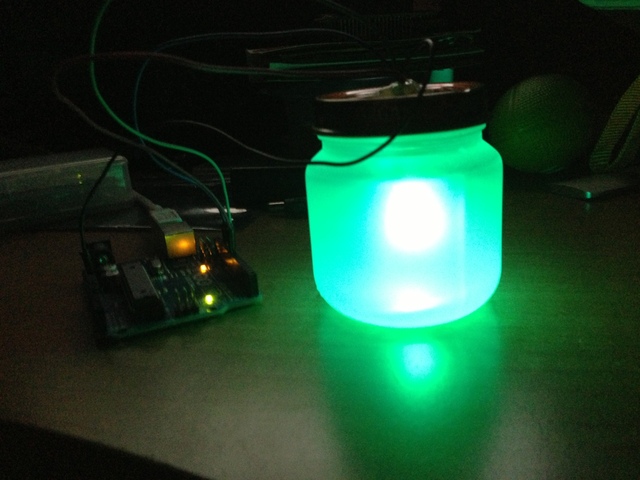
 The finished lamp has a consistent glow that I prefer over the raw LED. MAKE has a simple tutorial on the common anode LED that is helpful in understanding the connections.